Resources
How to become an AI engineer in 6 months
The full 6-month roadmap from the video: what to learn each month, the free courses and repos for it, the tools to install, and one project to build before moving on.
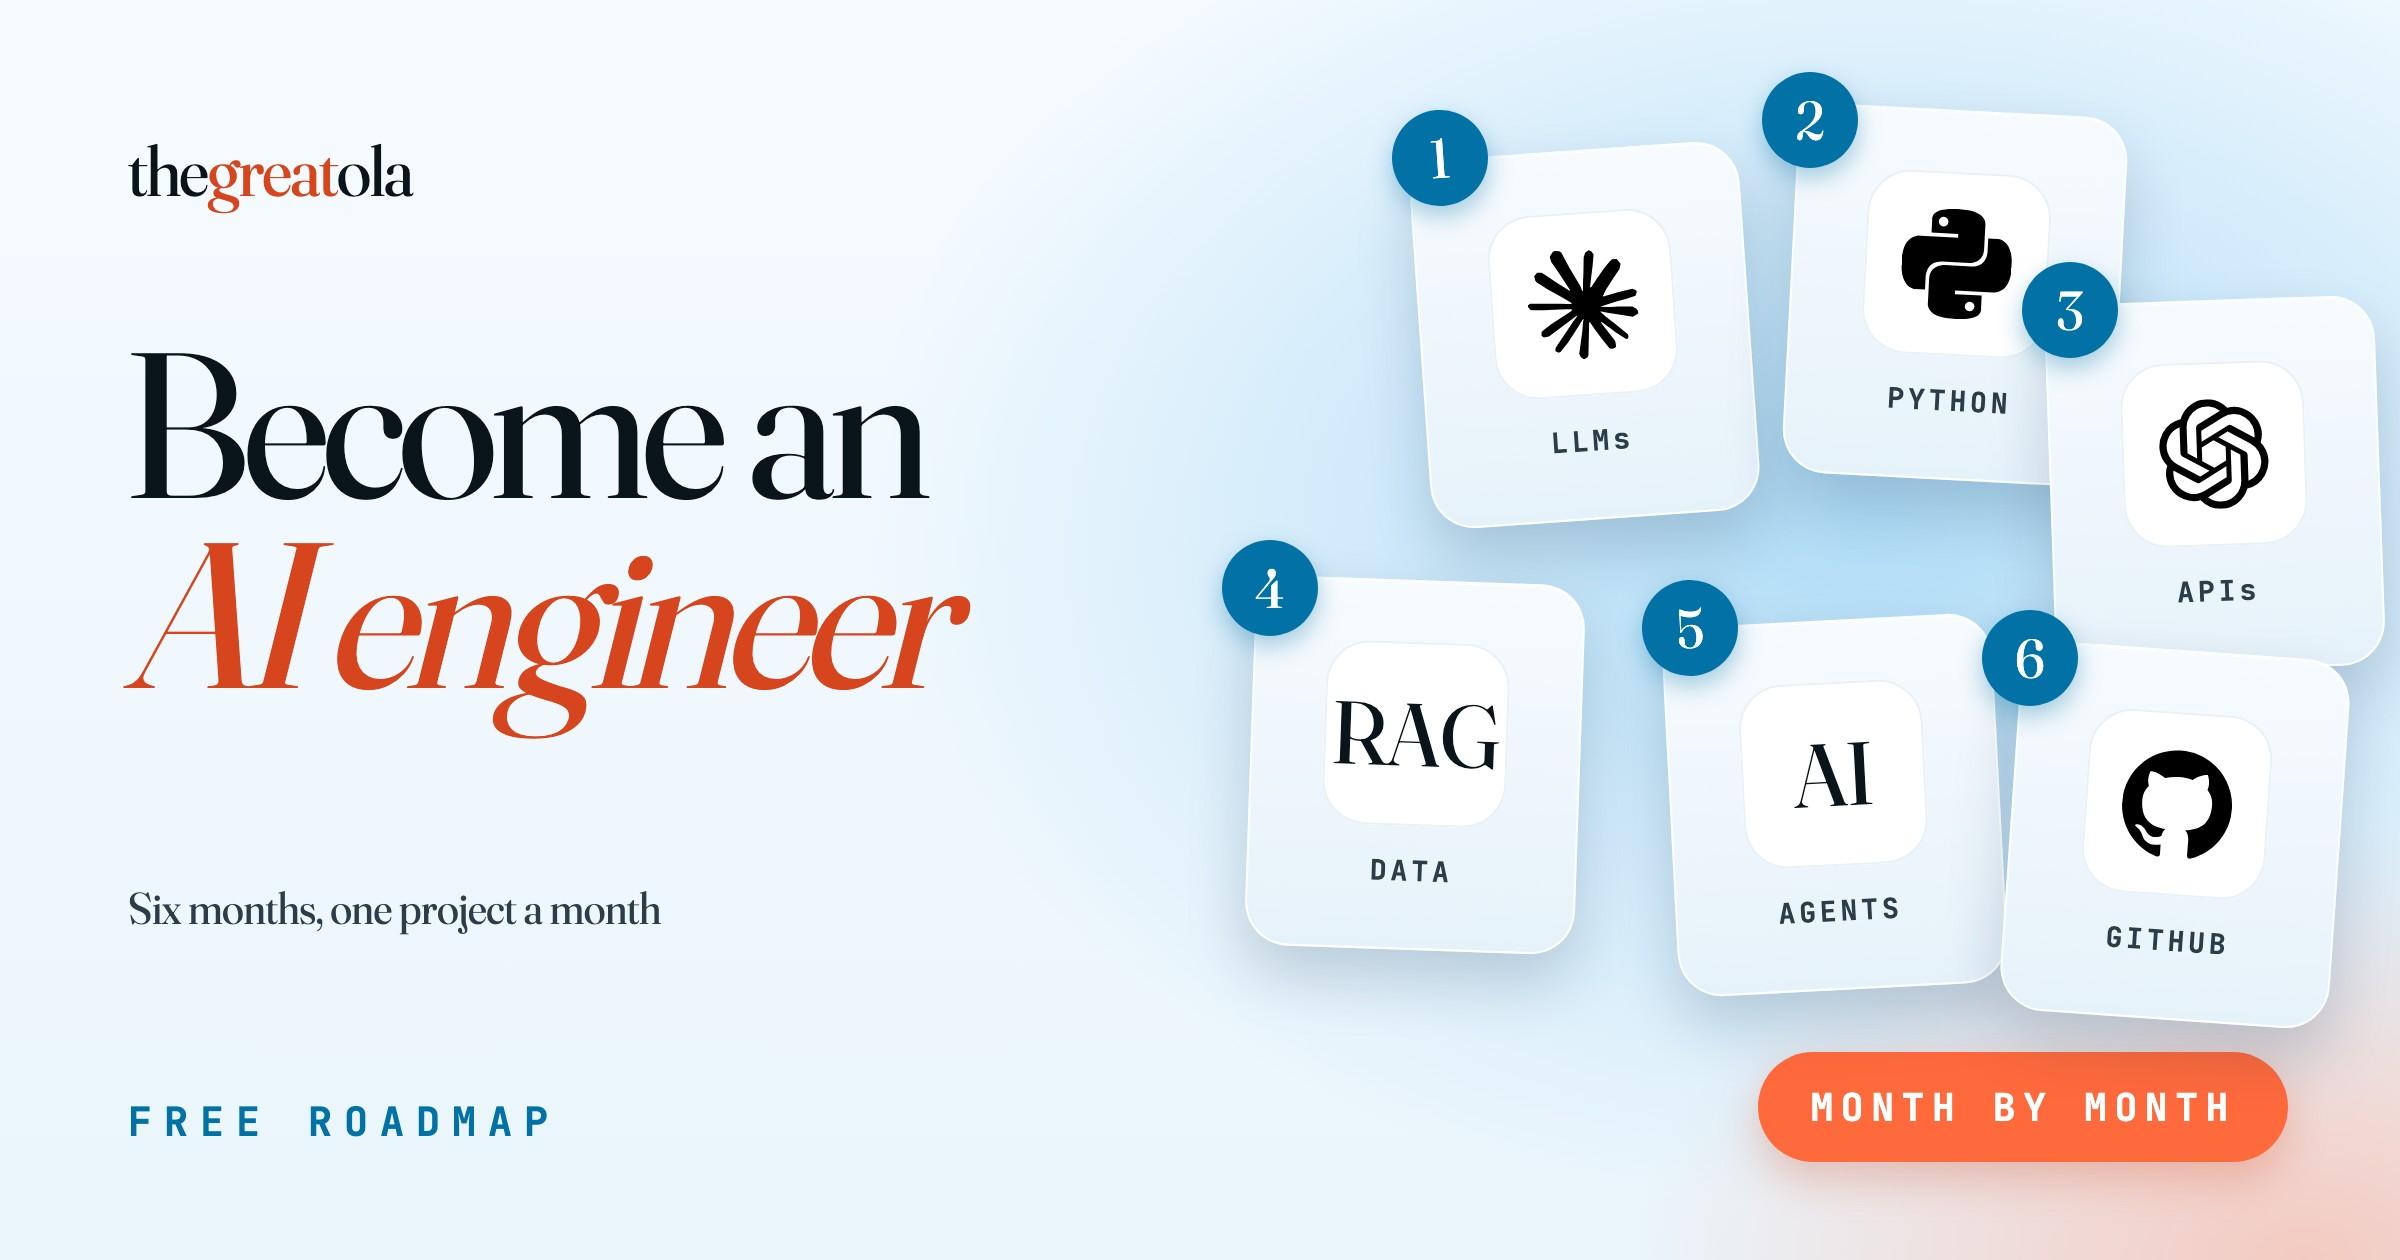
This is the full set of materials, tutorials and tools that goes with the 6-month AI engineer roadmap. It follows the same order as the video: how LLMs work, then Python, then building with APIs, then RAG, then AI agents, then shipping real projects on GitHub.
The point of the plan is simple. You build something every month, instead of only watching tutorials. Two or three solid projects on GitHub will do more for you than ten certificates.
Most of the courses, docs and repos below are free. API calls from OpenAI or Anthropic are paid as you go, but small practice projects usually cost very little. Check each site for the current price before you start.
How to use this guide
Work through the months in order. Each month adds a skill you will need for the next one.
For each month, read the short explanation first so the terms are clear. Then pick one main course or tutorial, not all of them at once. Follow the mini tutorial, then build the project and save it. You can put it on GitHub in month 6, or start a repo earlier if you want.
You do not need to finish every resource listed. The lists are there so you have a good place to go when you get stuck or want a second explanation.
What you need before you start
- A computer you can install software on (Windows, macOS or Linux).
Month 1: Understand how LLMs work
What you are learning
A large language model (LLM) is a model trained on a huge amount of text to predict what comes next. Chat tools like ChatGPT and Claude are built on this idea. You do not need the maths yet. You do need a clear picture of four ideas: tokens, prompts, context windows and hallucination.
Tokens are the small pieces of text the model reads and writes. A token is often a word, part of a word, or a bit of punctuation. Models do not see a page the way you do. They see a sequence of tokens. Longer text uses more tokens, and you are usually charged by the token when you use an API.
A prompt is everything you give the model at the start of a turn: your question, any instructions, and any examples or extra text you include. Clear prompts get better answers. Vague prompts get vague or shaky answers. If you want a short list, a formal tone or a reply in a set format, say so in the prompt.
The context window is the amount of text the model can see at one time. That includes your prompt, the conversation so far and the model's reply. If the thread gets longer than the window, earlier parts fall out of view and the model can "forget" them. This is why very long chats can drift, and why you sometimes need to repeat an important instruction.
Hallucination is when a model makes something up, often in a confident tone. The model is predicting likely next tokens, not looking up a guaranteed fact. If it was not trained on the answer, or if the answer is not in the prompt, it may invent a name, a date, a paper or a source. Treat important claims as unverified until you check them. Later, in month 4, you will learn how to ground answers in your own documents.
Resources
If you want a second pass at the basics, the first chapter of the Hugging Face LLM course is clear and free. When you are comfortable with Python later, come back to Karpathy's Let's build GPT and the Neural Networks: Zero to Hero page. The 3Blue1Brown neural networks series is also there if you want the visual version of that path.
Tools to install
You do not need a coding setup for most of this month. You need a free account on Claude or ChatGPT so you can try prompts yourself. Optional: a free account on Claude Academy or the Anthropic courses repo if you want structured lessons.
Mini tutorial
How to get it
- Watch the Karpathy talk all the way through once, without trying to memorise it. Write down his explanations of tokens and of the model predicting the next token.
- Open Claude or ChatGPT and ask a short question you already know the answer to. Then ask the same question in a tighter prompt: state the format, the length and who the answer is for. Compare the two replies.
- Paste a long article into the chat and ask a question about the end of it, then about the beginning. Notice how much text you are sending, and that everything has to fit in the context window.
- Ask a question whose answer the model should not know, such as a private detail from your day or a made-up book title. See whether it admits it does not know, or invents something. That is hallucination in practice.
- Work through a few lessons in Anthropic's interactive prompt tutorial, or the DeepLearning.AI short course, and save three prompt patterns that worked well for you.
Project for this month
Make a prompt lab, saved as a markdown file. Write 8 to 10 prompts around a real task you care about, such as summarising an article, explaining a concept or drafting an email. For each prompt, record what you asked, what the model said, how you changed the prompt and whether the second try was better. Include one test that tries to trigger a hallucination, and a short note on how you would check the answer. You will put this file in your GitHub repo in month 6.
Month 2: Learn the basics of Python
What you are learning
You need enough Python to write functions, use loops and call an API. You do not need to become a full-time software engineer this month. You need to be able to write a short script, run it, and fix the errors it prints.
A variable holds a value, such as a name or a number. A function is a reusable block of code you give a name, so you can run the same steps with different inputs. A loop repeats a step, for example going through a list of items one by one.
An API (application programming interface) is a way for your program to talk to another service over the internet. You send a request, usually with some data, and you get a response back, often as JSON (a structured text format). In month 3 you will call the OpenAI or Claude API. This month, practise with a simple public API so the idea feels normal.
Use a virtual environment (`venv`) so each project has its own packages and you do not mix them up. Install packages with pip, Python's package installer.
Resources
Tools to install
- The Requests library, inside a virtual environment: `python3 -m venv .venv`, then activate it and run `pip install requests`.
Mini tutorial
How to get it
- Install Python and open a terminal. Run `python3 --version` and confirm you see a Python 3 version.
- Create a folder for this month's work. Inside it, create a virtual environment and activate it. On macOS or Linux: `python3 -m venv .venv` then `source .venv/bin/activate`. On Windows: `python -m venv .venv` then `.venv\Scripts\activate`.
- Work through the official tutorial sections on variables, lists, `if` statements, `for` and `while` loops, and functions, or the matching CS50P or freeCodeCamp lessons. Write the examples yourself. Do not only read them.
- Write a function that takes a list of numbers and returns the total. Call it from a loop with a few different lists and print the results.
- Install Requests. Write a short script that calls a public API, for example GitHub's API at `https://api.github.com/users/octocat`, and prints the person's name and a few public facts from the JSON response. If the request fails, print the status code so you can see what went wrong.
Project for this month
Build a small command-line script that calls a public API and presents a clean result. A good option is a GitHub profile reader: the user types a username, your script fetches that profile and their public repos, then prints a short summary (name, bio, repo names and star counts). Use functions for "fetch the data" and "print the summary", and a loop to walk through the repos. Save the code. You will tidy it up and put it on GitHub later.
Month 3: Build with the OpenAI or Claude API
What you are learning
This month you build a small app that solves a real problem, such as a chatbot or a summarizer, by calling an LLM API from your own Python code.
You will use an official SDK (a software library from OpenAI or Anthropic) so you do not have to build every HTTP request by hand. You send a list of messages, usually with a system prompt (standing instructions) and a user message (the request). The model returns a reply you can print, save or show in a simple interface.
Keep your API key out of your code. Load it from an environment variable. If you publish the project, include a `.env.example` file that shows the variable names but not the secrets, and add `.env` to `.gitignore`.
Start tiny. A script in the terminal that takes a question and prints an answer is enough. You can add a simple chat loop after that, then a summarizer that reads a text file. Do not jump to a full website until the basic call works.
Resources
Tools to install
- Your month 2 Python setup (Python 3, venv, a code editor).
- An API key from OpenAI or Anthropic. Follow the official quickstart for the one you choose.
- The matching SDK, installed in your virtual environment: `pip install openai` or `pip install anthropic`.
- Optional: the `python-dotenv` package so your script can load a local `.env` file.
Mini tutorial
How to get it
- Create a new project folder and a virtual environment. Install the SDK for OpenAI or Claude.
- Create an API key in the official console and save it as an environment variable, for example `OPENAI_API_KEY` or `ANTHROPIC_API_KEY`. Do not paste the key into your source files.
- Copy the first working example from the official quickstart. Run it. You should get a short text reply in the terminal.
- Turn it into a loop: read a line from the user, send it to the model, print the reply, and repeat until the user types `quit`. Keep a list of messages so the model can remember earlier turns in this session.
- Add a system prompt that sets the behaviour, such as "Explain things in plain language and say when you are not sure." Try the same question with and without that prompt.
- Build a second script that reads a text file and asks the model to summarise it in a few bullet points. Test it on a file you know well, and check the summary against the original.
Project for this month
Ship a small app that does one useful job. Two solid choices are a terminal chatbot with a clear system prompt and conversation history for the session, or a summarizer that takes a text or markdown file and writes a short summary plus three key points. Make it something you would actually use. Include a README that says what it does, how to install it, which environment variables it needs and how to run it.
Month 4: Learn RAG
What you are learning
RAG stands for retrieval-augmented generation. It is how you give a model your own data so it can answer from that data, instead of guessing from its training.
The usual flow is: split your documents into chunks, turn each chunk into an embedding, store those embeddings in a vector database, then at question time find the chunks closest to the question and put them into the prompt. The model answers using that retrieved text. A good system also cites where the answer came from, and says when the answer is not in your files.
An embedding is a list of numbers that represents the meaning of a piece of text. Texts about the same thing end up close to each other, even if they do not share the same words. That is how "What's the refund policy?" can find a paragraph titled "Returns".
A vector database is a store built to search those embeddings quickly. Chroma is a common place to start because you can run it locally. pgvector adds the same idea to PostgreSQL, which is useful if you already use a regular database. Supabase has a hosted path that uses pgvector.
RAG is not magic. If you chunk badly, retrieve the wrong passage or stuff too much text into the prompt, the answer will suffer. Start with a small set of documents you know well, so you can tell when retrieval is working.
Resources
OpenAI also has a retrieval guide if you want the platform's own approach. If you use Postgres, read the pgvector README.
Tools to install
- Your Python setup and an OpenAI or Anthropic API key from month 3.
- Chroma, in your virtual environment: `pip install chromadb`. You will also need an embeddings model, often through the OpenAI SDK or another official embeddings API.
- Optional: LlamaIndex (`pip install llama-index`) if you want a framework to handle chunking and retrieval for you.
Mini tutorial
How to get it
- Collect a small set of documents you know, such as 5 to 10 of your own notes, a few public help pages, or a short handbook saved as text or PDF.
- Write a script that splits the text into chunks (start with a few hundred tokens per chunk, with a little overlap). Print a few chunks and check they still read as complete thoughts.
- Create embeddings for each chunk and store them in a local Chroma collection, along with a source name and, if you can, a page or section label.
- Ask a question, embed the question, retrieve the top 3 to 5 chunks, and print them. Check by hand that they are the right passages before you call the LLM.
- Send the question plus those chunks to OpenAI or Claude. Instruct the model to answer only from the provided text, to quote the source, and to say "not in the documents" when the answer is not there.
- Test three kinds of question: one the documents answer clearly, one that needs two chunks combined, and one the documents do not cover. Fix retrieval or the prompt until those three behave as you expect.
Project for this month
Build a "chat with your files" tool. The user points it at a folder of documents and asks questions in the terminal. Every answer should name the file (and page or section, if you have it) that the answer came from. If the answer is not in the files, the tool should say so and should not invent a source. This is a strong portfolio project if the README shows a sample question, the retrieved sources and the final answer.
Month 5: Build AI agents
What you are learning
An AI agent is a model that can take actions, not just talk. You give it tools and a loop: the model decides what to do, your code runs the tool, the result goes back to the model, and it continues until the task is done or it needs to stop.
Tool calling (sometimes called function calling) is the basic move. You describe a tool in a structured way, such as "get_weather" or "read_file". The model does not run the tool itself. It returns a request that says which tool to use and with what inputs. Your code runs that function, then you send the result back. Never let a model run raw commands against a production system without checks.
Memory is how the agent keeps useful information across steps. At the simplest level, that is the conversation history for the current session. You can also keep notes, a short task log, or facts the agent has already found, so it does not start from zero on every turn. Memory should be deliberate. Dumping everything back into the prompt will fill the context window.
Start with one agent and two or three tools. A research helper that can read a URL, take notes and answer from those notes is enough. Multi-agent systems and large tool collections can wait until this smaller loop is solid.
The Model Context Protocol (MCP) is an open standard for connecting tools and data sources to AI apps. You do not need to master it this month, but it is worth knowing, because many tools now ship as MCP servers.
Resources
If you want a widely used orchestration framework after the official SDKs, read the LangGraph overview. There is also a free DeepLearning.AI course, AI Agents in LangGraph.
Tools to install
- Your Python setup and an API key from month 3.
- One official agents SDK to start with. For OpenAI: `pip install openai-agents`. For Claude: `pip install claude-agent-sdk` (you will also want to follow the install steps in the official quickstart).
- Only add MCP or LangGraph when you have a first agent working with plain tools.
Mini tutorial
How to get it
- Work through the official quickstart for the Agents SDK you chose, until you have one agent that can answer a question in your terminal.
- Add a simple tool, such as a calculator or a function that reads a local text file and returns its contents. Confirm in the logs or printed output that the model asked for the tool and that your code ran it.
- Add a second tool, such as one that fetches the text from a public URL, or one that writes a short note to a local file. Give each tool a clear name and a short description, because the model uses that description to decide when to call it.
- Add basic memory: keep the thread of tool calls and answers in the session, and also write a short running note (what the agent did and what it found) so you can inspect it after the run.
- Add a stop rule. If the agent has called tools more than a set number of times, or if a tool fails, it should stop and report what happened instead of looping forever.
- Run two tests: a task that needs a tool, and a task that should not. Check that it does not call tools when a plain answer is enough.
Project for this month
Build a research assistant agent with tools and session memory. A solid version can accept a question, use a tool to read one or more sources (local files, public URLs, or both), save short notes, and then write an answer that says what it used. Print a simple trace of the steps (which tools ran, in what order). Put limits on what the agent can do, and keep any keys in environment variables. This is the kind of project that reads well on GitHub if you include a sample run in the README.
Month 6: Ship real projects on GitHub
What you are learning
This month is about finishing, not starting from zero. You will take two or three of the projects you already built, make them easy for someone else to run, and publish them on GitHub. Recruiters and hiring managers can open a repo. They cannot open a certificate and see how you think.
A good project repo is boring in the right ways. It has a clear README, a requirements file, a `.gitignore` that keeps secrets and virtual environments out, and enough sample input or output that a stranger can tell what the project does in two minutes. The code does not need to be perfect. It does need to run.
Git is the tool that records changes to your files. GitHub is where you host those records in public (or private) repositories. You will use a few commands a lot: `git init`, `git add`, `git commit`, `git push`. GitHub's Hello World guide is enough to get that flow into your hands.
Two or three solid projects beat a long list of half-finished ones. Pick the work that shows a range: for example, the API app from month 3, the RAG tool from month 4, and the agent from month 5. The prompt lab and the Python API script can live in the same portfolio repo or as smaller repos, if they are tidy.
Resources
If you want more building practice while you tidy repos, the Microsoft generative-ai-for-beginners and ai-agents-for-beginners courses are still useful references.
Tools to install
- Your existing Python projects, each with a virtual environment that is not committed to the repo.
Mini tutorial
How to get it
- Install Git and create a GitHub account if you still need to. Complete the Hello World guide once, even if it feels basic, so the create-commit-push flow is familiar.
- For each project you plan to publish, create a `requirements.txt` (or an equivalent lock file) and a `.gitignore` that includes `.env`, `.venv/`, `__pycache__/` and any data files you do not want public.
- Search your project for API keys, passwords and personal data. If a key ever got committed, revoke it in the provider's console and make a new one. Do not assume deleting the line is enough if the history already contains it.
- Write a README with this shape: what the project does in two or three sentences, who it is for, how to install it, which environment variables it needs, how to run it, and a sample of real output.
- Create a public repo, push the code, then clone it into a fresh folder and follow your own README from scratch. Fix anything that a newcomer would trip over.
- Add a short "What I learned" section or a sample session, so the repo shows your thinking, not just files.
Project for this month
Publish two or three finished projects on GitHub. Aim for a small but real portfolio, such as the chatbot or summarizer, the RAG "chat with your files" tool, and the research agent. Each repo should run from the README, hide its secrets, and show a sample result. If you only have time to polish two, polish two well. That will do more than five half-finished repos.
Tools you will use
This is the short list, grouped by when you need it.
Project ideas for your GitHub
These are the core projects from the six months, plus a few extra ideas if you want a third or fourth repo. Pick work you can explain in a short README, and finish it.
When you describe these on GitHub, say what the project does, how to run it and what you would improve next. That is enough.
The resources are here when you need them. What matters is that you keep building, month by month, and put the work on GitHub so other people can see it.
- Prompt lab (month 1): a markdown log of prompts, results and what you changed, including a hallucination test.
- Public API script (month 2): a command-line tool that fetches and summarises data from a public API, such as GitHub profiles.
- Chatbot or summarizer (month 3): a small app built on the OpenAI or Claude API, with a system prompt and a clear install guide.
- Chat with your files (month 4): RAG over your own documents, with sources in every answer and an honest "not in the documents" path.
- Research assistant agent (month 5): tools, session memory, a visible trace of steps, and limits on what the agent can do.
- Meeting-note cleaner: paste messy notes and get back a clean summary, action items and open questions (a good extra month 3 project).
- FAQ bot for a single product or school course: answers only from a known set of docs (a tighter version of the month 4 project).
- Personal file helper: an agent that can search a folder you choose, read a file and draft a short reply, then stop and show you the plan before it writes anything (a tighter version of month 5).
Newsletter · Staying Liquid
Read Staying Liquid.
Where I break down crypto, markets, and what I’m actually watching and shipping. Free, in your inbox.
Opens Staying Liquid to confirm. No spam, unsubscribe anytime.